
I ruined my favourite handbag. I spilt a drink down it, staining the leather. Honestly, I was pretty distraught when it happened; this was my everyday bag, my black, slouchy, fit-everything-in bag. Repurchasing was not an option: I had thrifted it for just £35, when it retailed for more than £1000. So I set about restoring it – and in doing so, have written this guide. Here’s how to dye a leather handbag, from someone who learned the hard way!
Why Dye A Leather Handbag?
There are many reasons to dye a leather handbag. You may wish to restore its condition, or perhaps change its colour. Personally, I dyed my handbag because it was stained and also had some sun damage. And it was cheaper than buying a new one. And more eco-friendly too!
We live in a world where repairing our things has fallen out of fashion. Often, it’s cheaper to buy a replacement to a ruined bag or garment. I chalk this up to fast fashion business models, however, even within the circular fashion world, repair seems to get forgotten.
That being said, repair comes before resale and recycling. And I wasn’t ready to let go of this bag! Last year I learned how to sew, so in the spirit of caring for my clothes, I decided to learn how to dye leather this year. And I’m so pleased I did…
How To Dye A Leather Handbag: 6 Steps


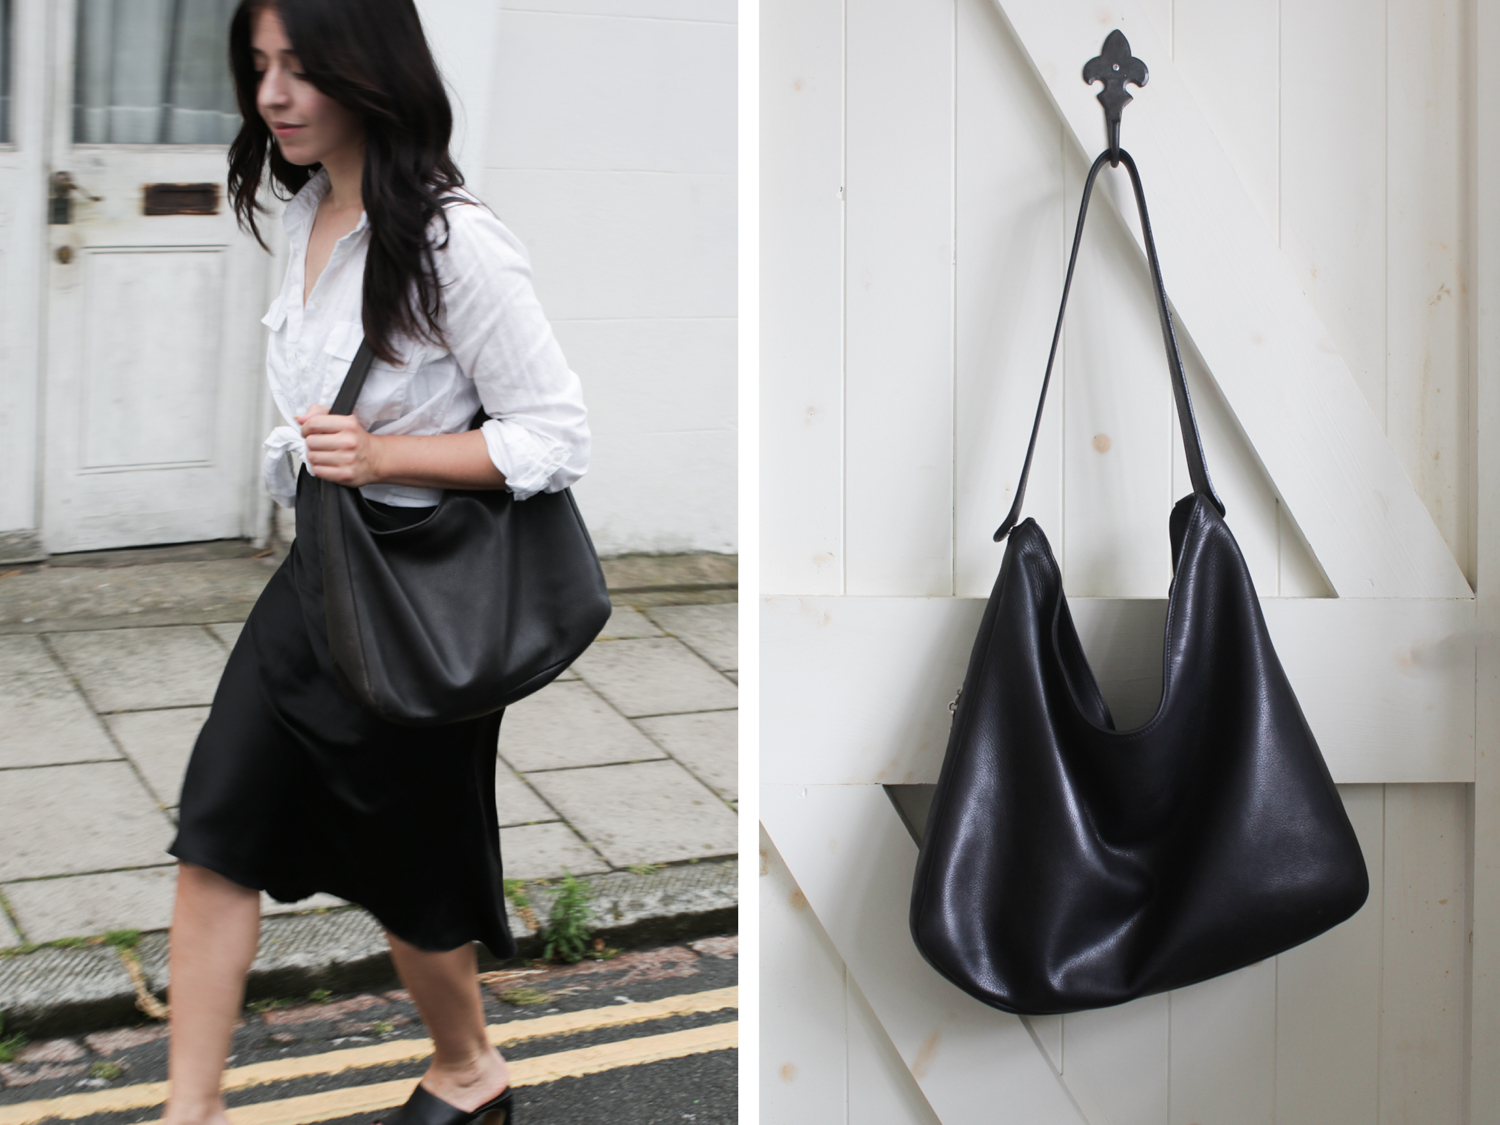
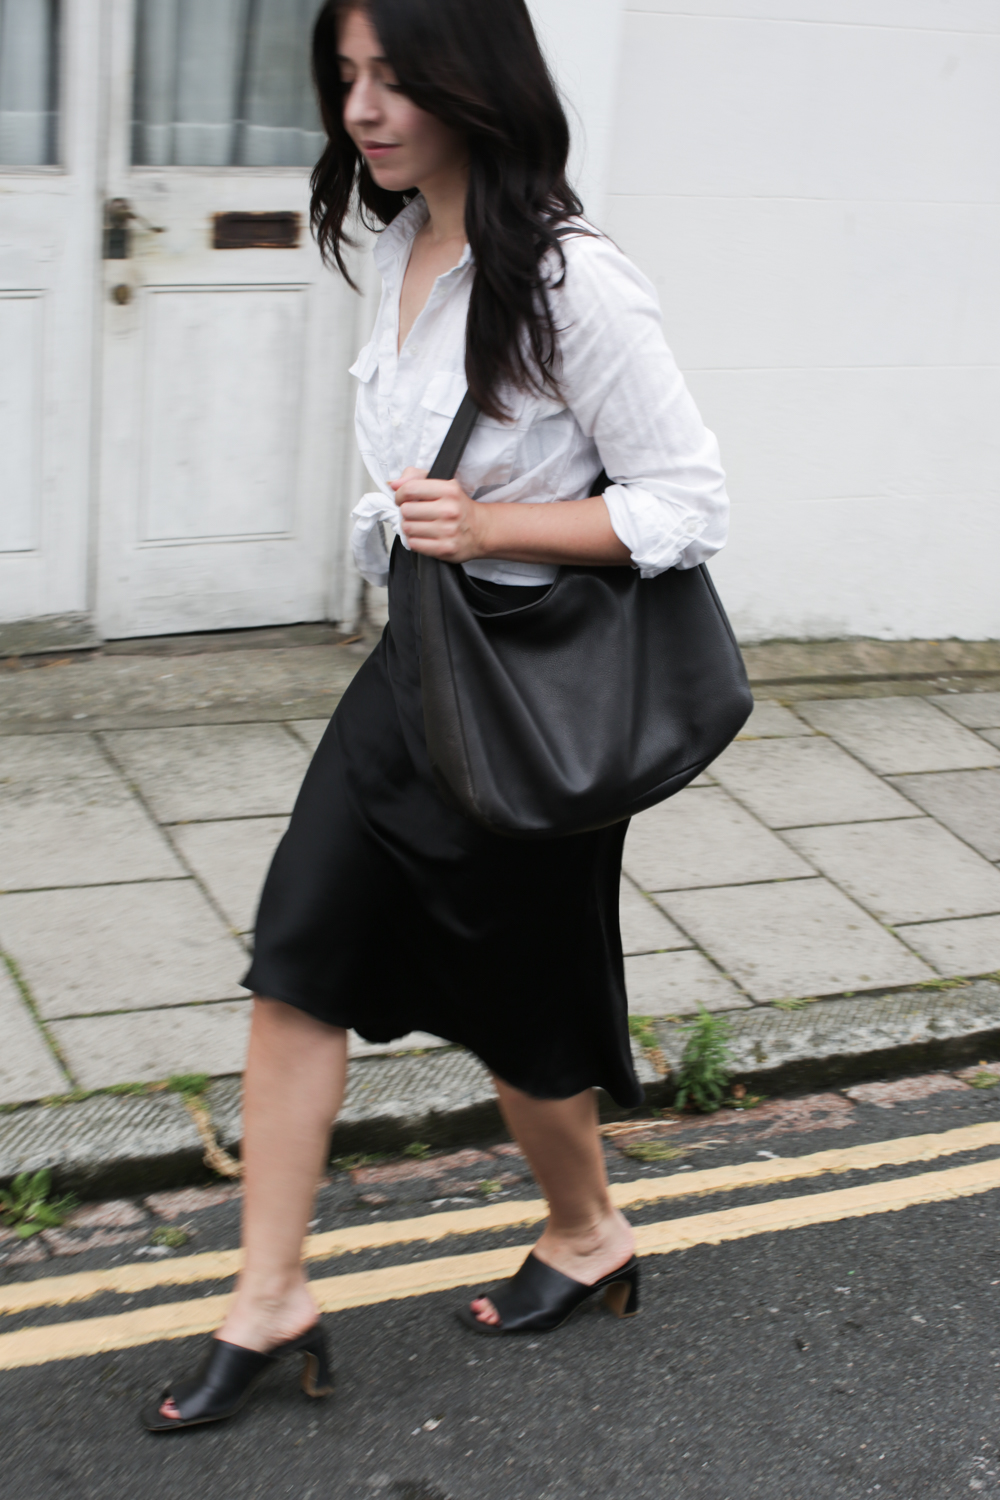
In an ideal world, I would have started out learning how to dye leather with a smaller, less important project. However, I was getting desperate. This vintage Serapian handbag has been my go-to bag since 2023. In lieu of this bag, I had been wearing my Longchamp Le Pliage bag, and it was too chaotic, having all my belongings rolling about in one huge nylon sack.
So, I took to YouTube. I already took good care of my leather goods – I own and frequently use a leather cleaner and leather moisturiser on everything – and just needed to add a dye and sealant into the mix. This project took just under a month to complete, but if you’re savvy (unlike me), you can dye and seal your bag in less than five days.
1. Order Your Leather Dye & Tools
In order to dye leather, you’ll need to first clean it, then dye it, and then seal it. This means you’ll need more than just leather dye (a mistake I made). For the entire leather dyeing process, you’ll need:
- Leather cleaning solution
- Leather dye
- Leather moisturiser
- Leather sealant
- Small glass bowl
- Soft sponge x 2
- Disposable gloves x 2
- Microfibre clothes x 3
- Soft bristle brush
For my project, I used Renapur Leather Cleaner Spray, Angelus Leather Dye in Jet Black, Astonish Leather Conditioning Cream and Resolene Protective Finish for Leather.
2. Prepare Your Work Station
I live in a tiny one-bed cottage so finding space for this project was difficult! I didn’t want to stain any surfaces, so I opted for a makeshift workstation out of plastic bags on my bedroom floor, and found this did the job well. Be sure to use at least two bin bags, and carefully dispose of these without touching any other surfaces as the dye will not dry down.
On your “workstation”, you’ll need to lay out your leather cleaning solution, leather dye, leather moisturiser, one of your soft sponges, a pair of disposable gloves, two microfibre cloths, and a soft bristle brush.
3. Buff & Clean Your Bag
Start by buffing your bag. Moving in circular motions, brush off any dirt and dust with the bristle brush. Then go over your bag with the microfibre cloth to pick up any remaining particles.
Next, clean your bag. Take a second microfibre cloth and apply on your leather cleaning solution (mine is a spray, so I spray it onto the leather and buff it out in the same, circular motion). Now your bag is ready to be dyed.
4. Dye Your Bag
Putting your bag to one side, mix up your dye. Start by putting on a pair of gloves. Next, in a small glass bowl, mix together the leather moisturiser with your dye of choice. I used around 75ml of conditioning cream to 10ml of dye. Be sure to mix very well, until you get an even colour throughout.
Once mixed, take your sponge, and dip it into the dye. Now apply this in small, circular motions to each section of the bag. I had the hard task of even coating the large side panels of the bag, so started on the base and sides before tackling them. By that point, I had my technique down, and could work quickly enough that it gave an even coat.
Once covered, leave the bag to dry for at least 24 hours. I left my bag hanging on a hook so it would air dry evenly. At this point, you should see an improvement to the colour of your bag – for me, the stains were covered, and the sun damage looked more like a patina than damage. However, if you’d like a deeper colour, you can repeat this process once more.
5. Seal Your Bag
Once your dye is done and dry, it’s time to seal your bag. I (naively) attempted to skip this step, and found that the dye was rubbing off on my clothes! Not good.
At the same workstation, put on your gloves and fill your glass bowl with water. Dip a fresh sponge into the water, so it’s damp but not soaked. Next, apply the leather sealant to the sponge; you don’t need much. Now, using the same circular motion, apply it to the bag.
Once the bag is fully covered in sealant, leave it again for at least 24 hours to dry.
6. Your Bag Is Ready To Wear!
Your bag is now dyed and sealed, and you should find it to be both a more uniform colour, and have a soft sheen too. I was so happy with how my bag turned out; it was soft and still had the beautiful grain texture, while having a richer colour (and no more stains!)
My Rating of Dyeing My Handbag: 9/10
I am so happy with the result of this at-home restoration! The gentle process of mixing dye with leather moisturiser worked wonderfully, and my bag looks almost as good as new. I will say that this fix took me quite a while because I didn’t anticipate the need to use a leather sealant. Now though, I will know what to do for any more dye jobs. (Since dyeing my handbag, I keep noticing leather goods in my wardrobe that could also benefit from a dye…)
In-between ruining my bag, and dyeing it myself, I did enquire with an online repair service who quoted me £180 to dye it. So, not only did I save myself £1000+ by not repurchasing the bag, I also saved myself over £150 by repairing it myself!
Let me know if you decide to try dyeing your handbag using this guide!
Advertisement